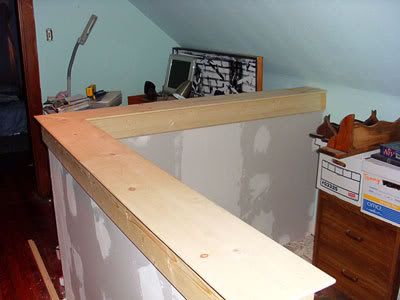
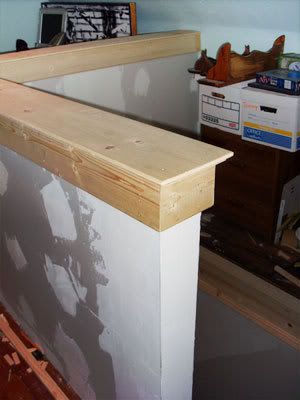
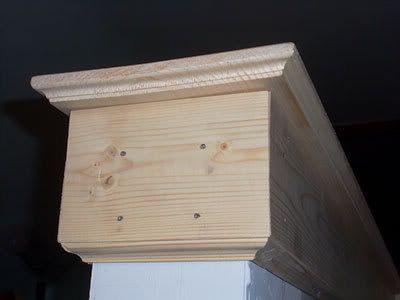
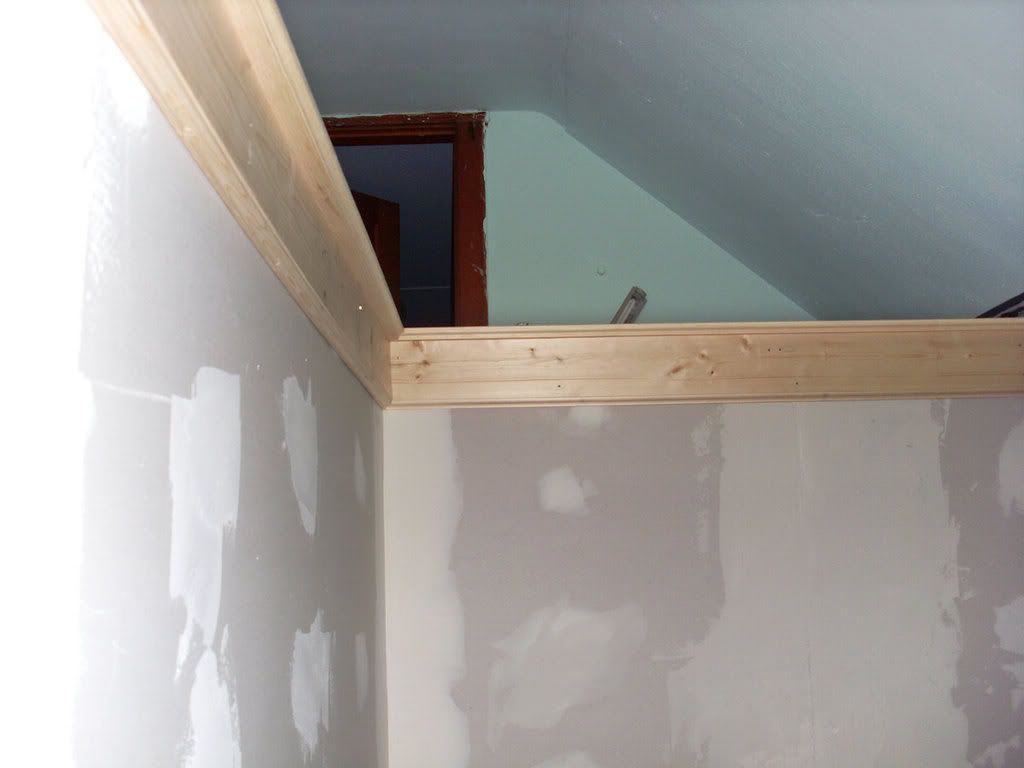
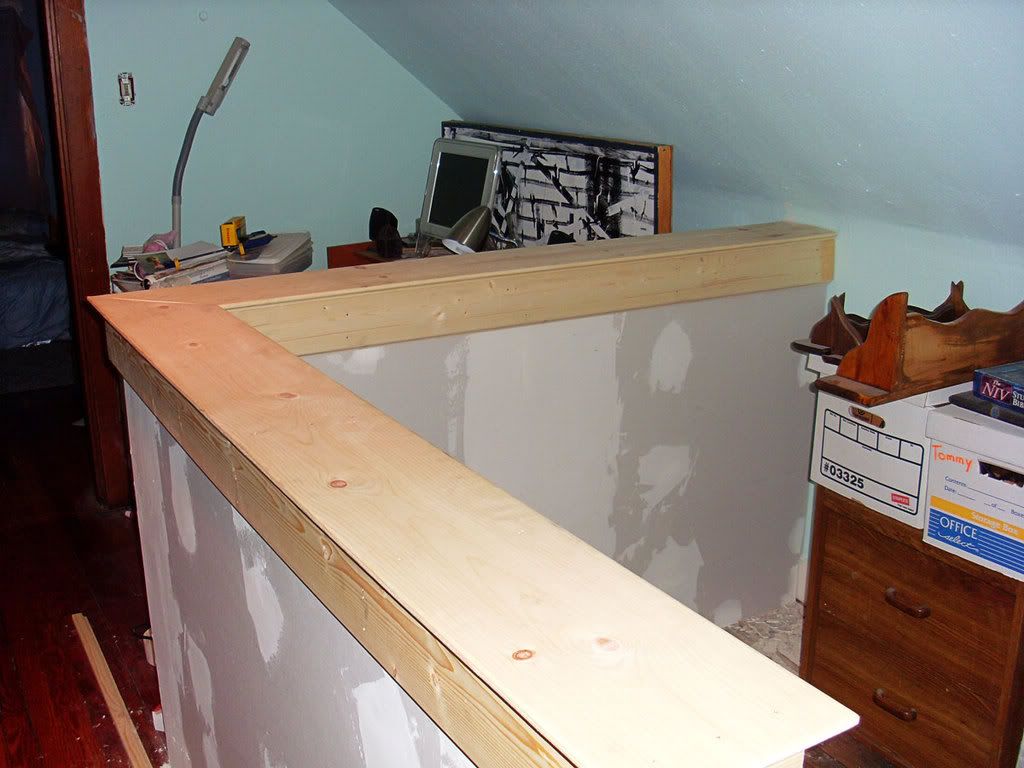
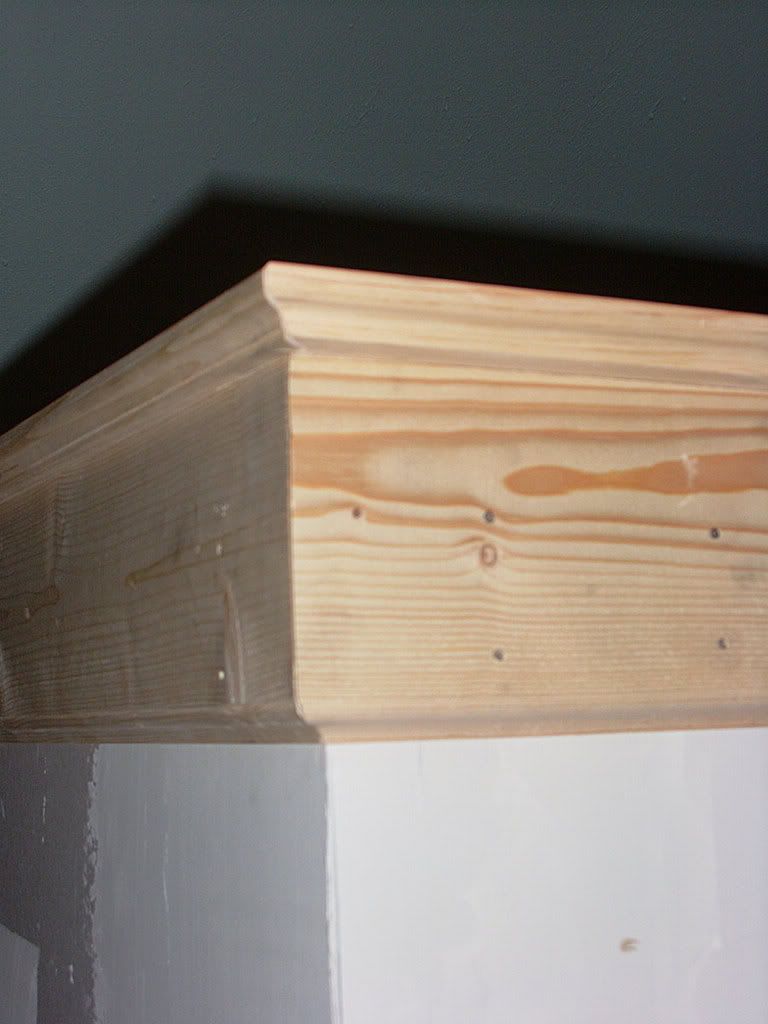
for christmas, to my excitement, i received 2 sets of router bits. i was very glad for this because up until that point i owned a grand total 1 bit for my router and i have had plans to redo all the molding in our house. upon excitedly telling some close friends about my new toys, our friend, steph, said "want to play?" apparently her and her husband had just finish, for the most part, building a knee wall around the opening of their 3rd floor stairwell but were still in need of a nice looking cap for the wall. they offered to pay for materials, as well as feed me and my wife when we were there, if i could bring my tools over and make the cap for them. this was, of course, a great chance for me to try out my new router bits and practice for doing the molding in my own house at the same time. we decided on regular, knotted pine for the wood because steph and her husband, tommy, liked the rustic look and also because it was more cost-effective. they had also asked me to do some trim work which i will talk about in the next post, but altogether what i thought would only take a couple of weekends ended up taking 6+ weekends to complete. may job was to design, build, and install the cap and trim and i left the sanding and finishing of the wood for my friends to complete. below are some photos of the knee wall cap, once my part was done.

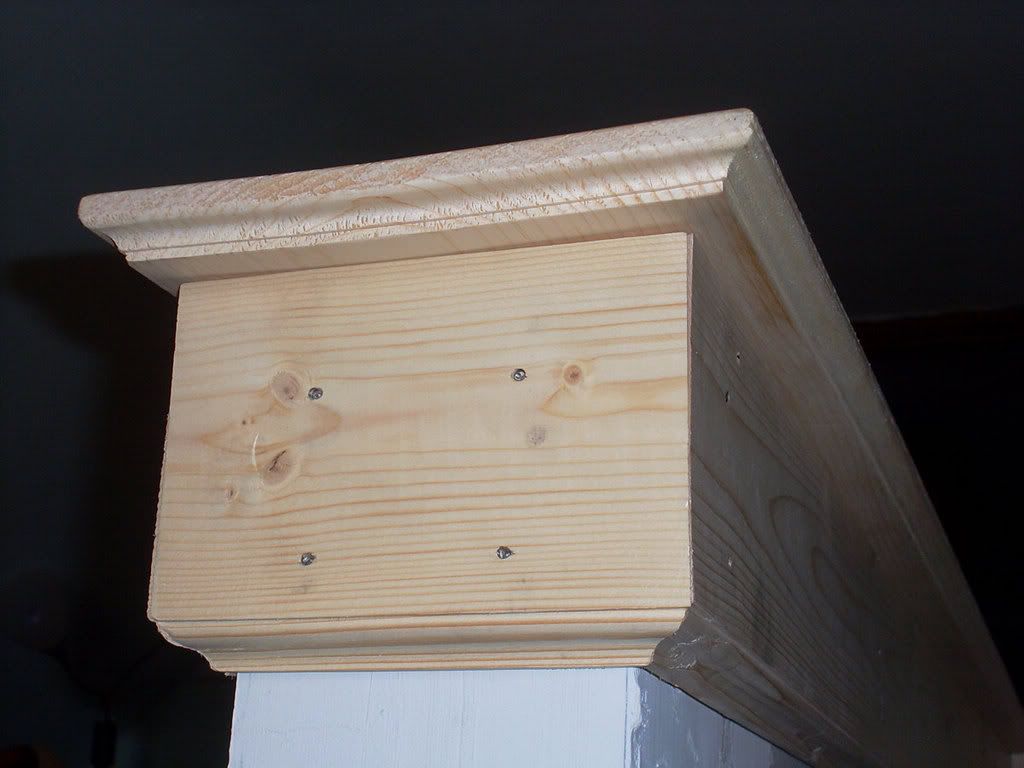
as i am a beginner, there are some things i learned, of course.
1) if you
have to use cupped boards, pay attention to which way they cup. for the actual cap pieces i neglected this, instead paying more attention to which side of the board looked prettier. the result was that the mitered corner of the wall had opposing cups that makes an ugly, bowed ridge at the joint (see below). unfortunately, only some hefty planing and sanding will make it disappear.
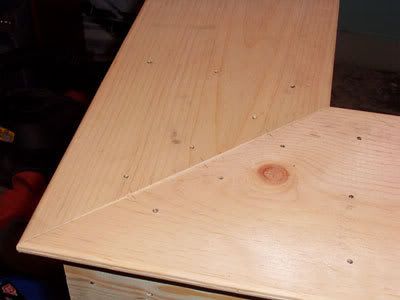
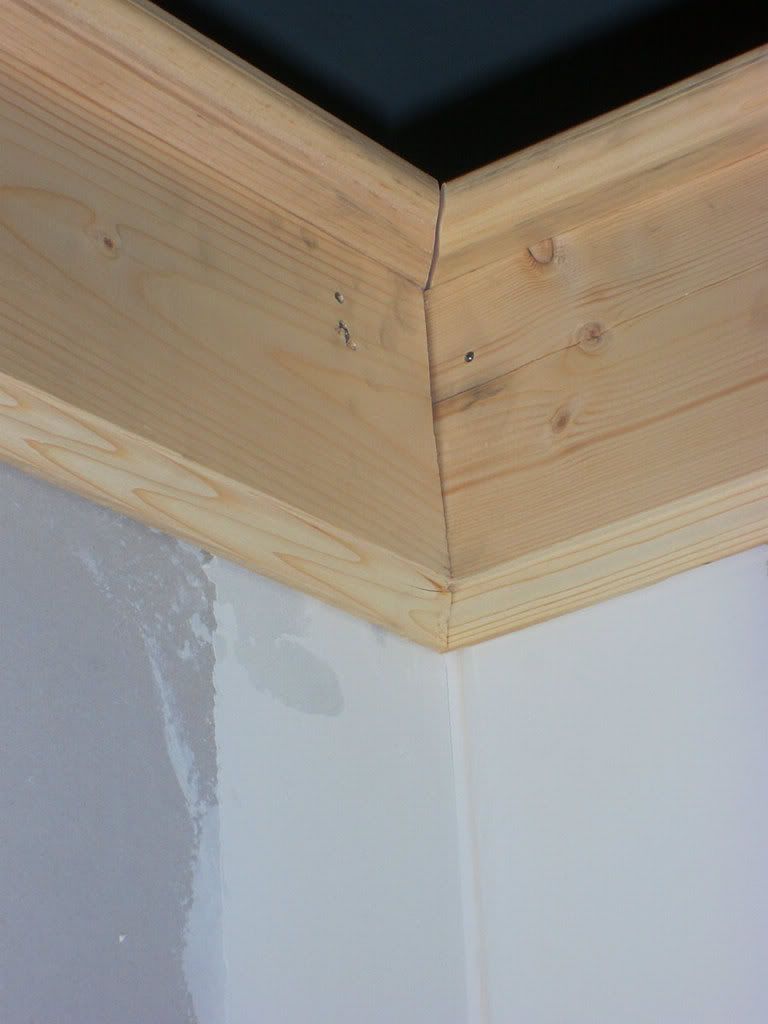
2&3) coping cuts are harder than they look... and any tips on how to make sure you line your mitered ends up properly when it comes time to nail boards up? (pardon the blurriness of the photos)


Wow, and ambitious project! But, I'm glad to see that you have a nice start. I presume that you haven't not used glue, for stain doesn't take to well after glue...but is fine after nails/screws.
ReplyDeleteno glue, just finish nails. since i am not doing the actual finishing (sanding and staining) my part is actually done.
ReplyDelete- eric